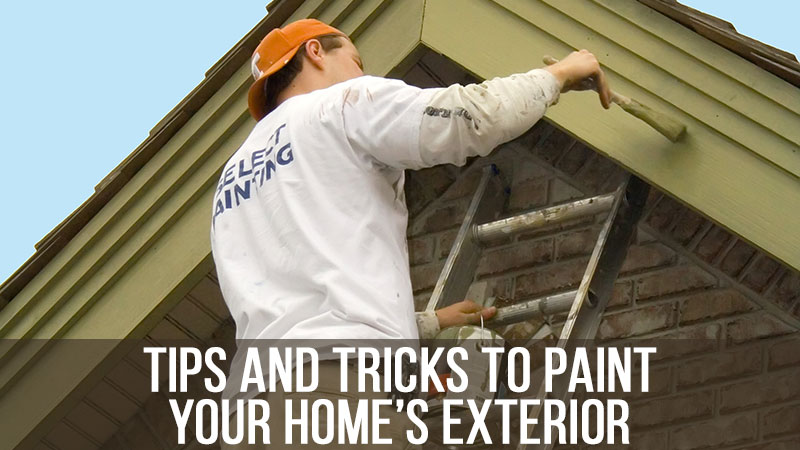
Repairing, painting and maintaining your home’s exterior, whether you are handy and motivated or prefer to hire a professional, is one of the best investments you can make in caring for your home. It’s like giving your home a facelift and greatly enhances its curb appeal and resale value. But it’s not just about appearances – it’s about protecting the structural integrity of your home from the elements. Paint and caulking, along with your roof, take the brunt of the weather that your house experiences – like rain, snow, and ice. Regularly inspect the exterior of your home so you are aware of any spots where the paint is cracking, blistering or peeling. You want to repair and repaint when you see it is compromised.
Plan the Project Around Weather
Fall is a traditionally an ideal time for house painting as the air is still warm but crisp, the sun is not as strong, and the weather is usually drier than in the spring months. Some paint will not perform well when applied at below 50 degrees. If you live in a colder climate, there is paint that is formulated to be applied at a temperature as low as 35 degrees. Check the long-range forecast, as you want a rain-free run of low-humidity weather when painting that will allow it to properly dry and set up.
Prep the Surface
Before you begin your home’s transformation, clean the exterior surfaces of any dirt, grime, mildew or residue using a power washer or hand scrubber with stiff bristles. Tap any raised nail heads so they are below the surface and fill any holes with putty. It is a good idea to caulk around windows, doors, and trim before applying a fresh coat of paint. Bare wood must be primed before applying paint. Primer sets the stage for a lasting finish and the paint will look much better when applied over primer.
Buy Quality Paint
Don’t skimp on the paint you choose. Typically, the more expensive the paint, the more pigment it contains. This means better quality paint will produce a thicker, longer lasting and more protective coverage.
Related Read: Choosing Paint Color and Finishes
Apply Paint with Brushes and Rollers
You will need both to do the best job. Brushes are best for edges, small areas and narrow surfaces and rollers will be more efficient for painting large and long surfaces, like siding and trim.
Start at the Top and Paint in the Shade
Shade is your painting friend since the full sun will cause new paint to dry too fast and as a result, it will not adhere as well and will blister and flake prematurely. Begin painting at the top of your home and work your way down. Place paint first on the bottom edge of siding and then paint the broad surfaces.
Trouble Shoot Common Problems
Avoid common problems like lap marks, drips, and brush marks by being vigilant about the area you just painted. To avoid brush marks, begin each brush stroke in an unfinished area like an edge, or against a door or trim. Brush toward the finished area and sweep the brush upward and off the surface in one movement. Lap marks appear when applying wet paint over already dried areas. Working swiftly in small sections will decrease this occurrence. When you must lay fresh paint down on a dried over area, you should overlap the sections by several feet.
Related Read: Summer Maintenance Tips
![Mortgage Investors Group in [Dynamic1]](../assets/images/mortgage-investors-group.svg)


